
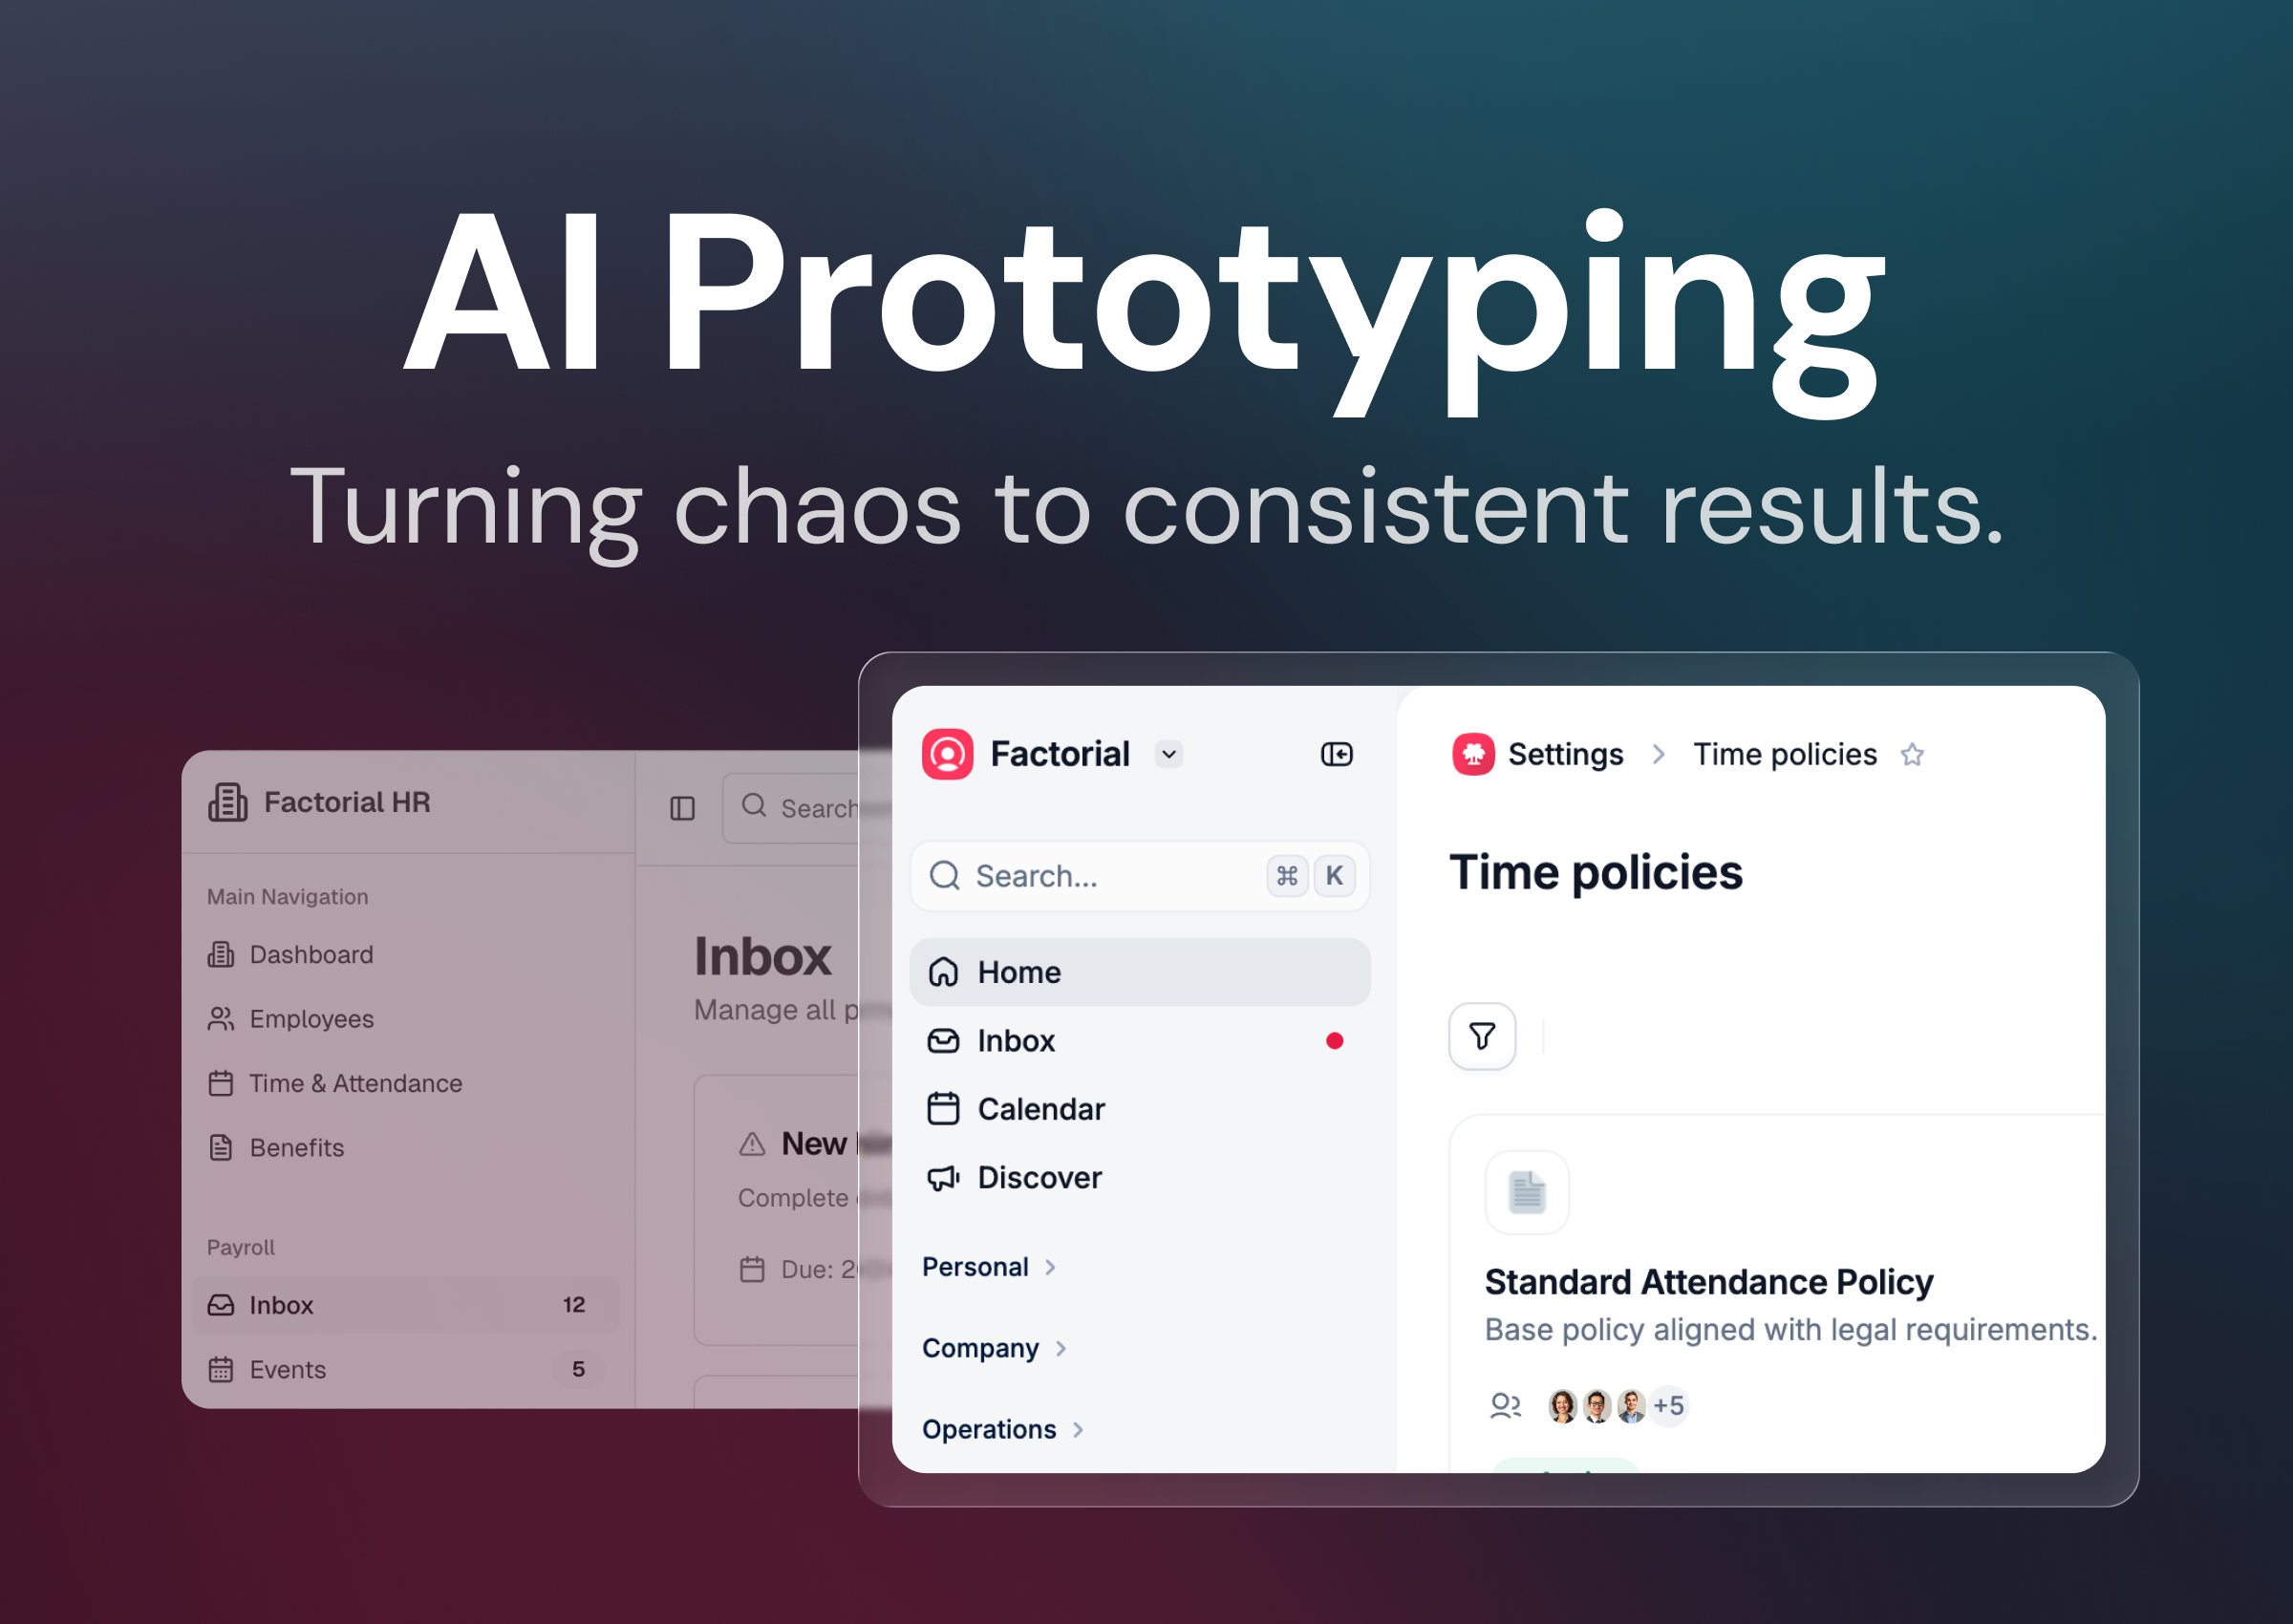
The practical guide to prototyping with AI
How to integrate AI into your design workflow and get real value from it, using the same tips we rely on at Factorial.
This is a follow-up from my last post about why you should Stop designing like 5 years ago. If you haven’t read it, I recommend it (it’s a 5-minute read).
When designers start using AI tools, they expect them to behave like senior product thinkers: drop in a random prompt, get a perfect feature.
When we introduced Lovable at Factorial, that illusion vanished quickly.
We weren’t getting bad results because Lovable was bad.
We were getting bad results because we hadn’t given it the clarity it needed.
AI doesn’t solve unknown problems. It solves the described problems.
Once we accepted that, everything changed.
Why do designers struggle on day 1
AI tools are not Figma.
As designers, we need to adapt and change our mindset.
When you start using an AI tool, you should have these things clear in your mind:
It can’t define the problem for you. If you don’t clarify what you’re trying to solve, the tool will guess… and guess poorly.
Vague instructions break everything. “Make this intuitive” or “fit all of this on one screen” is not direction: it’s confusion.
It’s not a Figma replacement. Some tasks (polish, visual nuance, interaction details, error statuses) are still better done manually.
It won’t reproduce your product perfectly. But “close enough” is usually more than enough for testing. Users don’t see the tiny inconsistencies designers obsess over.
It depends on a structured context. Without clear goals, sections, flows, and vocabulary, outputs feel generic, fake, or irrelevant.
After a few workshops and some proper guidelines, we stopped asking Lovable to think for us at Factorial… and started using it for what it’s great at: quick prototyping, rapid validation, and fast iteration.
📌 Note
This guide is written with Lovable in mind, but 90% of it applies to any tool: v0, Lovable, Figma Make, Bolt, Magicpath, Base44, Galileo, etc. I might talk about the differences between them in the future.
How to structure your first prompt
Before you write a single screen, you need two things:
The problem you’re solving, clearly framed
How do you expect to solve it, clearly described
I break it down into three layers: foundations → sections → flows.
1. Foundations: give the model a skeleton
If your foundations are vague, everything that follows becomes harder. Focus on:
Context: What is your company, product, and problem? Explain it simply.
Style: How should the app feel? Tone, identity, interaction patterns.
Layout: What’s the global structure? Navigation, menu, main areas.
Think of this as giving the tool the skeleton before asking it to build the body.
2. Sections
Once the foundations are in place, define your sections (pages, tabs, or side panels):
Context: What is the section for? What can users do?
Structure: Layout elements like navigation, filters, tables, and cards.
Components: Any specific details, e.g., a delete button with a bin icon.
3. Flows
Then, define how users move and act:
Context: What’s this action for, and where does it start?
Structure: Modal, page, or step flow?
Behavior: Steps, data, conditions, error states.
Components: Which UI pieces are involved?
Do this for the 1–3 most important flows first. Don’t start with edge cases.
Other tips
Structure your ideas and flows before prompting: Lack of prep = wasted time.
Use the vocabulary of design systems: Agents understand tokens, components, and even descriptive adjectives.
Avoid too much granularity in early prompts: Start broad (layout, flows, main sections). Add details like spacing, font sizes, and pixel-perfect specs only once the basics are working.
Write prompts yourself: Don’t rely on other agents to generate them. Once drafted, refine directly in ChatGPT; specialized agents often perform worse.
Avoid long text blocks: Use bullet points, one requirement per line.
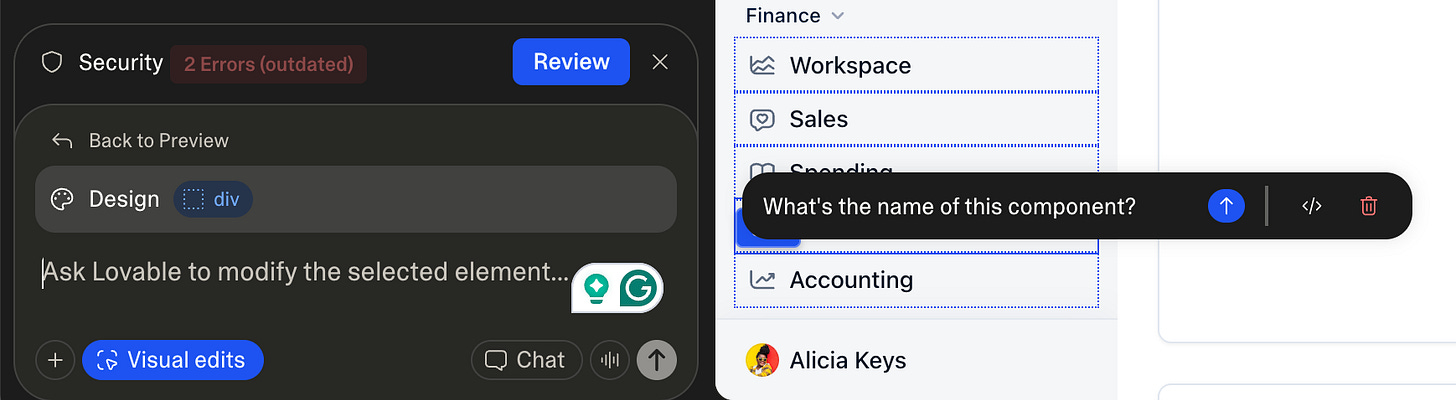
Name everything: Label sections, flows, and components to make reuse easier. If something isn’t named, use the selection tool to query it.
Write and prototype at the same time: LLMs can take some time to generate, so don’t wait until you’ve written everything. Start with sections and launch a prototype. While it’s building, keep writing flows and other sections.
Setting the tool
Before you paste your prompt, most AI tools let you set up instructions and memory to keep the model grounded and consistent.
In Lovable, you can configure all of this directly in your project settings, including your product context, your design tokens, and the rules for how you expect the LLM to behave.
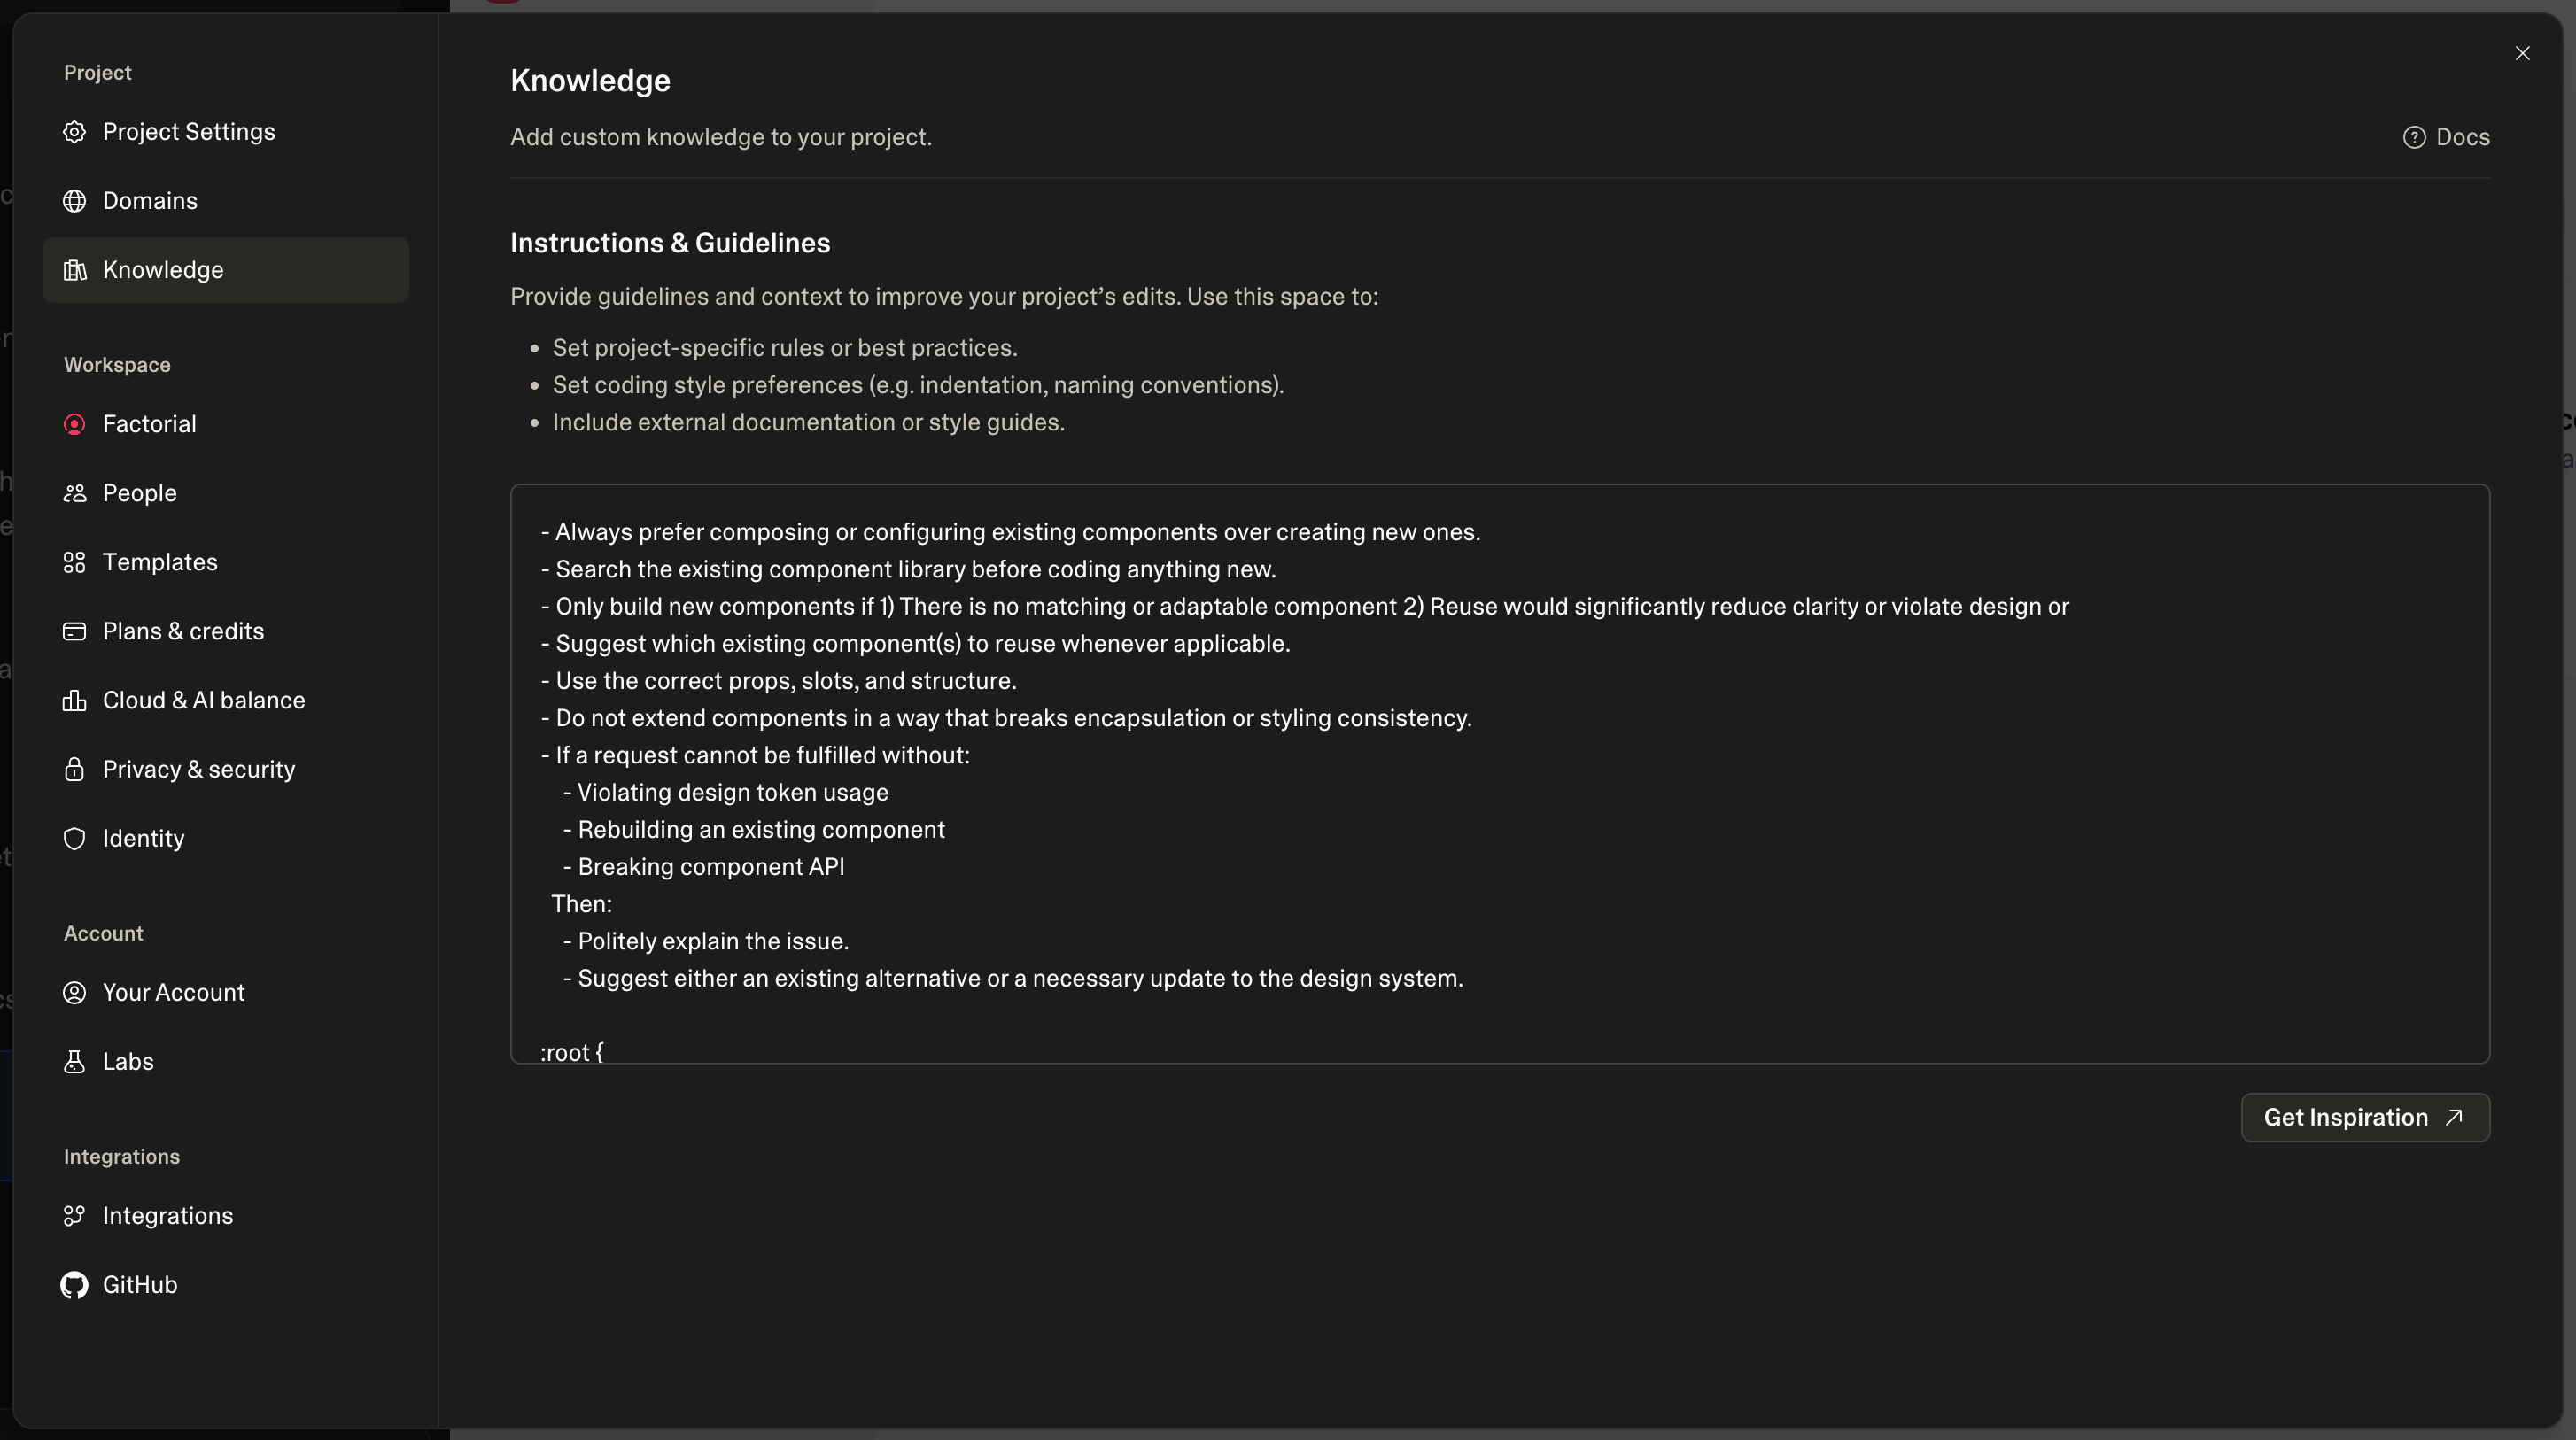
This is where you teach the model your world:
Company context
Your tokens
How do you expect the LLM to behave
If you need to export tokens from Figma, the Figma Token Exporter plugin makes it straightforward.
The more you preload here, the less you’ll have to repeat later, and the more reliable your prototypes become.
Basic instructions for the LLM
- Always prefer composing or configuring existing components over creating new ones.
- Search the existing component library before coding anything new.
- Only build new components if 1) There is no matching or adaptable component 2) Reuse would significantly reduce clarity or violate design or
- Suggest which existing component(s) to reuse whenever applicable.
- Use the correct props, slots, and structure.
- Do not extend components in a way that breaks encapsulation or styling consistency.
- If a request cannot be fulfilled without:
    - Violating design token usage
    - Rebuilding an existing component
    - Breaking component API
  Then:
    - Politely explain the issue.
    - Suggest either an existing alternative or a necessary update to the design system.
How to prototype without going insane?
Once your prompt and project are ready, don’t paste your entire brain into Lovable and hope for the best.
Work in small, controlled steps:
Add the first section
Fix anything broken or unexpected
Refine and polish
Add the next section or flow
Repeat until the project is complete
Tips for prototyping
A good prompt is 90% of the work: If the first 2–3 iterations are poor when prototyping, stop patching, rewrite the prompt.
Use LLM chat for longer prompts and to see how things are built: It’s also useful for brainstorming UI/UX ideas, testing different prompt structures, and asking about how certain things work to improve fixes and iterations.

Be vocal about the tech stack. Define frameworks, technologies, and libraries. Knowing code helps you out.
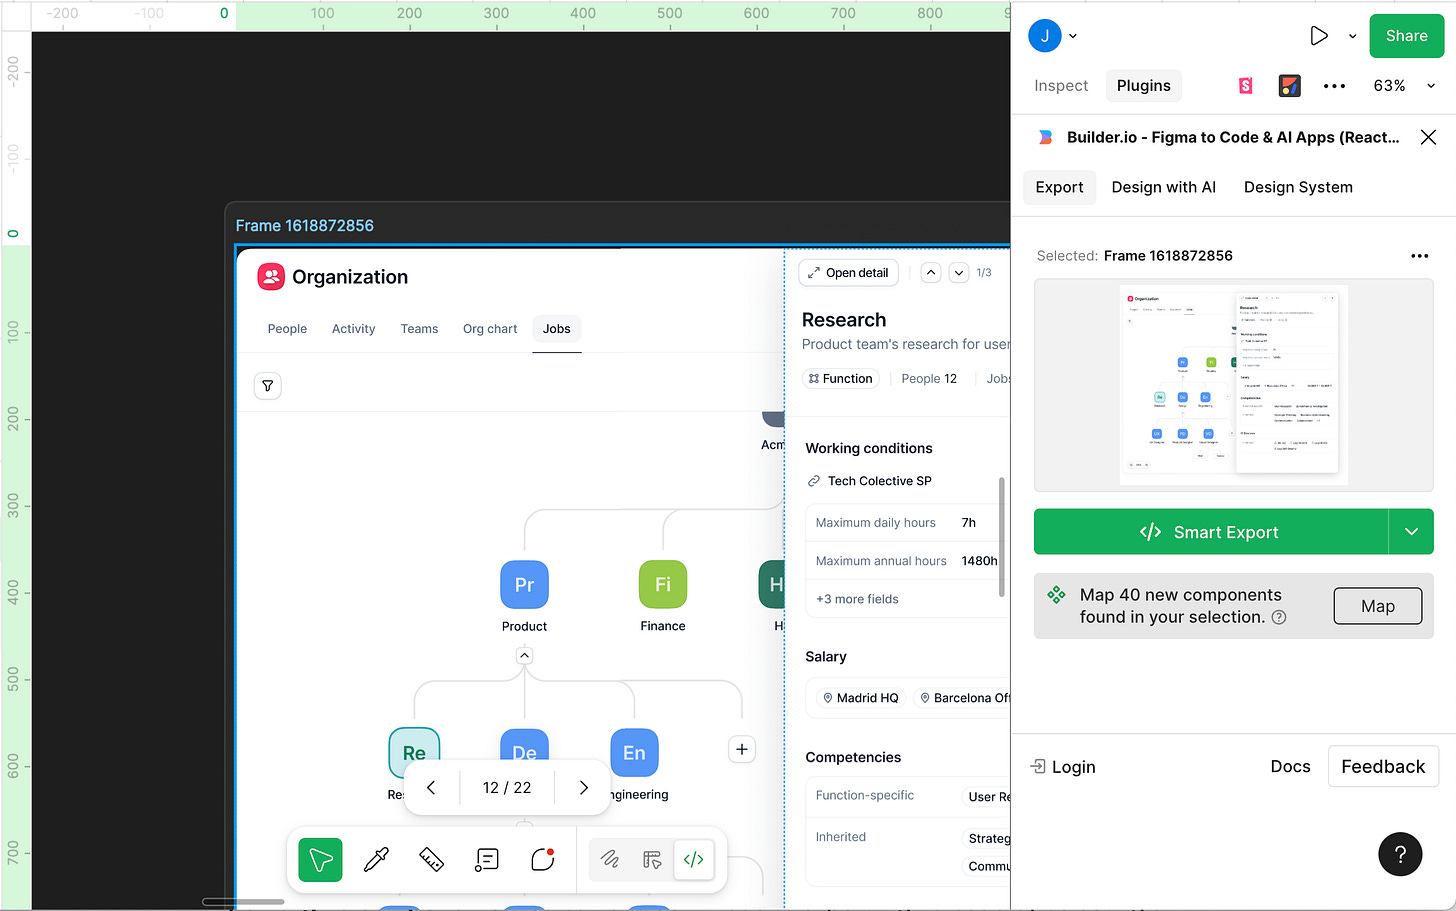
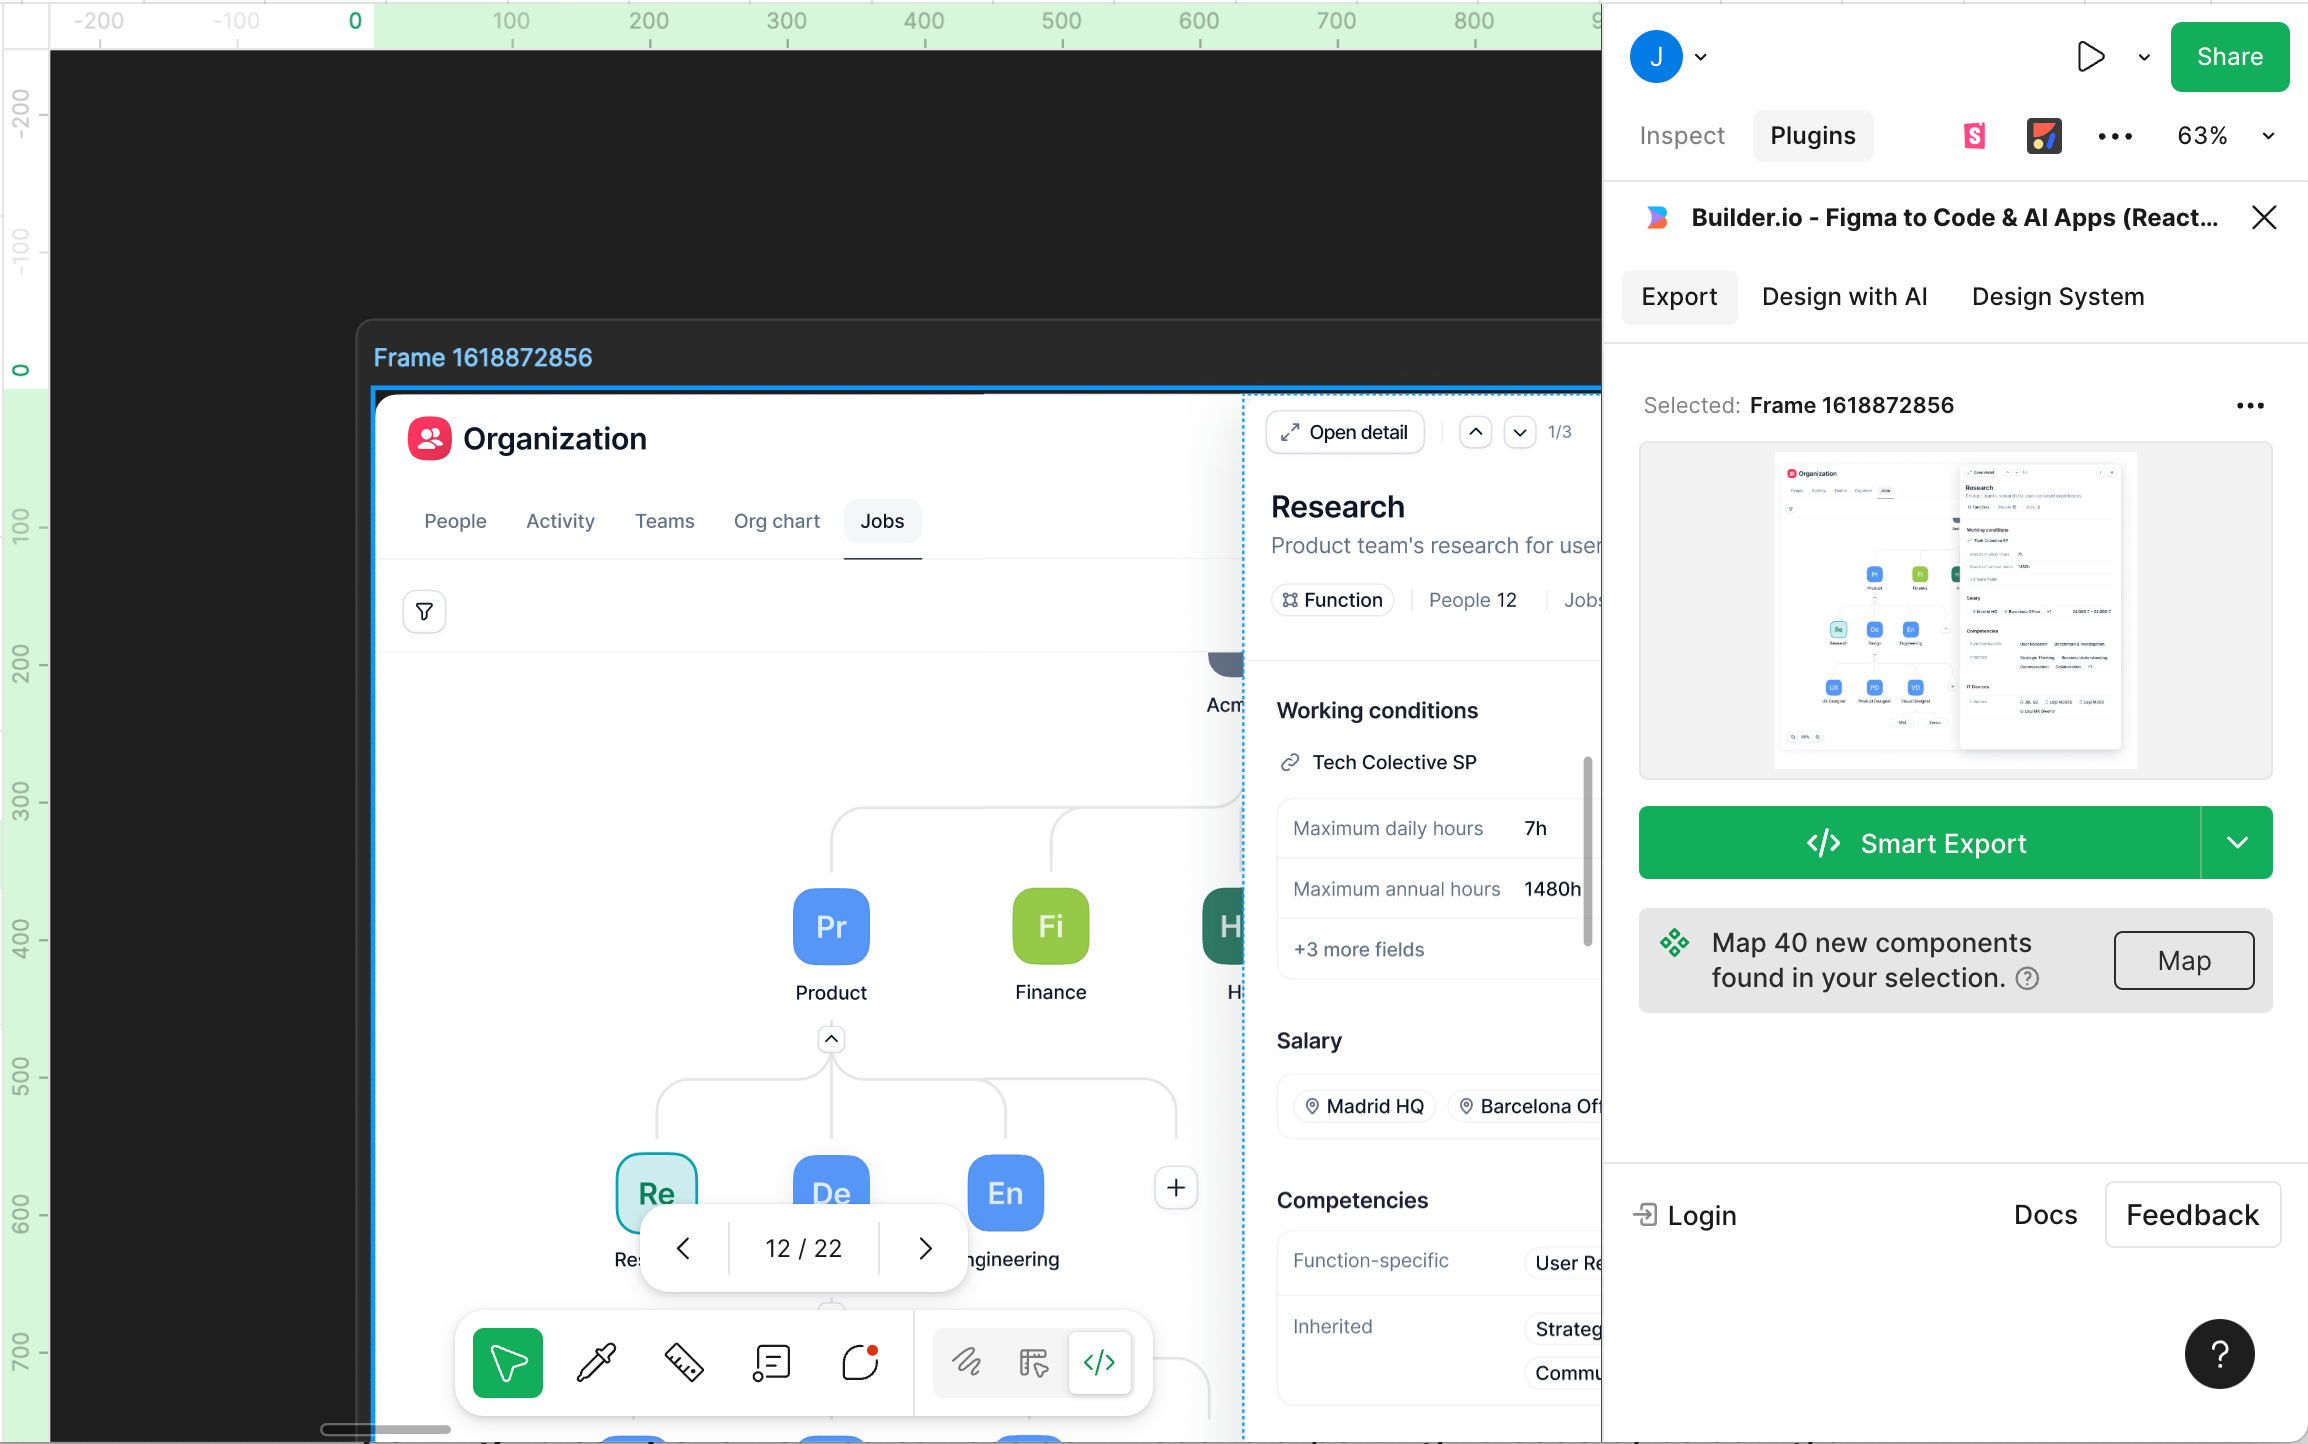
Export Figma components: You can use dev-mode to export Figma code by selecting a layer, going to Layer properties on the right sidebar, switching List for Code, and selecting the plugin Figma to Code from Builder.io. Copy the code there and paste it into Lovable; it helps.
Be detailed when the time is right: Specify flows, positioning, states, and styles later in the process.
Accompany explanations with visuals: A quick Figma sketch is often 10x clearer than text.
Use version history: Roll back and re-prompt instead of endlessly fixing broken outputs.


Render prototypes in device mockups: Ask Lovable to place designs in mobile or laptop frames for more realistic testing.
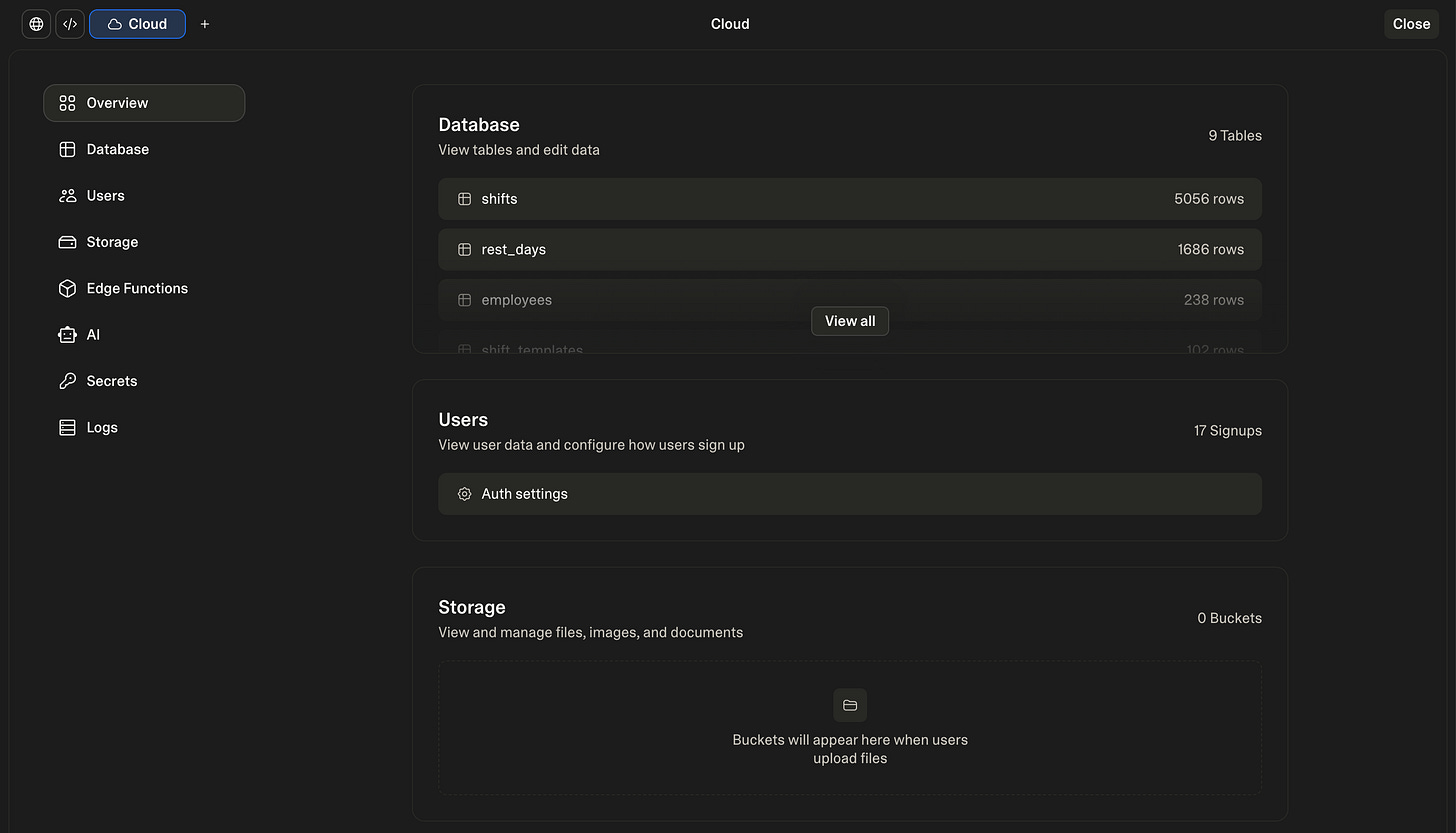
Data architecture: When using a data structure across multiple pages with filters, groupings, or variations, define the structure upfront and give the LLM a data frame to work from. For more robust needs, consider pairing the prototype with a real database such as Supabase.
The edit tool is your friend. Use it to add specific details to a component, or to ask its name and how it was built so you can reuse it elsewhere in your prototype.

Getting Stuck?
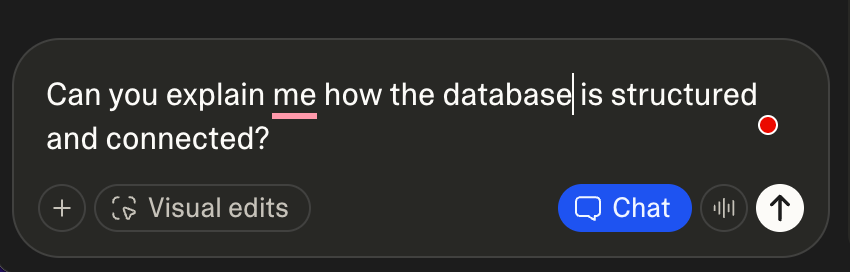
If AI isn’t giving you the results you want, don’t prompt with things like: “it doesn’t work,” “review again,” “make it better,” or “fix it.”
Use Chat mode. Explain the issue in depth, and ask lovable to review all files until it finds a fix that will 100% work.
Try to understand the implementation. At times, just by understanding how things are built, you can provide better pointers on how to fix the problem. You can use the chat mode for this, too.
Threaten it. I’m not joking. It really works. If you threaten AI, it responds much better. To be a little bit ethical, what I usually say is “If you do not fix this, a kitten will be hurt… 🐱”
What happened after 3 months of fully adopting AI prototyping at Factorial?
The short version: our ideation and validation loop went 10x faster.
We can now generate a prototype in a single day and update full flows in just a few minutes.
Instead of spending hours debating ideas on whiteboards or buried in presentations, we can jump straight into realistic, testable prototypes that feel close enough to the product that users behave naturally.
And the difference in research is huge.
Instead of running Figma click-throughs that politely guide users from screen to screen (even when they make mistakes), we can now test end-to-end flows. We can see people get stuck, recover, try alternative paths, and behave the way they would in the real product. It lets us test actual customer scenarios, not scripted paths.
But it’s not all upside.
Lovable is powerful enough to build almost anything, including ideas that are vague, unstructured, or not fully thought through. That’s the trap. It will happily generate an interface even if your problem framing is weak.
So the speed is real, but the responsibility is too:
We still need clarity on the problem, the solution, and the experience we want to create.
AI accelerates the direction you point it, which means pointing it well matters more than ever.
Closing Thought
Lovable didn’t transform our workflow because it’s magical. It transformed our workflow because we stopped treating it like magic.
Good inputs create great outputs.
The tool just accelerates the direction you’re already pointing.
If you want speed, clarity comes first.
Here you have some other guidelines to help you in your process: